This website uses cookies so that we can provide you with the best user experience possible. Cookie information is stored in your browser and performs functions such as recognising you when you return to our website and helping our team to understand which sections of the website you find most interesting and useful.
Installation & Activation
Step 1 – Upload and Activation :
Amazon EStore Affiliate installation it’s not so different than any other theme installation process, so you should know how to do this already. Just in case you don’t, follow the instructions below.
Installing the theme is very easy, you’ll see.
There are two ways to install a WordPress Theme:
Directly upload the zipped theme file via the WordPress admin
By uploading the unzipped theme folder containing all the theme files directly on your server using an FTP client.
Option 1 – Using WordPress Installer ( recommended ):
Log in to your WP Admin Panel
Go to Themes -> Add New

Click on the Upload button.
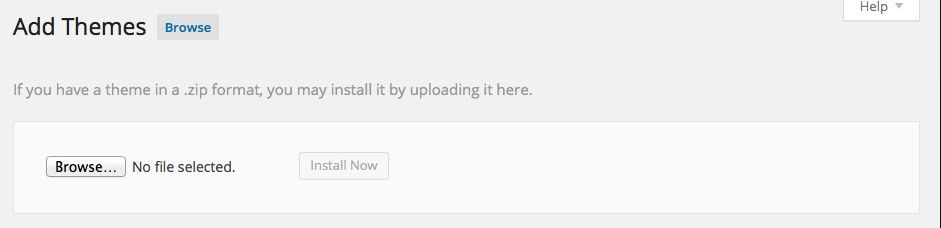
Browse to the theme’s zip file (it is located in the archive you’ve downloaded from ThemeForest) and choose that file.
When asked to select a file, choose the Amazon EStore Affiliate.zip file.
Click the “Install Now” button.
Wait while the theme is uploaded to your server.
Click the “Activate Theme” button after the theme has finished uploading to your server.
Option 2 – Installation via FTP Client Software:
Extract the .ZIP archive from Codecanyon/ThemeForest to a local folder on your PC. It should contain a subfolder named Amazon EStore Affiliate.zip
Upload unzipped ‘Amazon EStore Affiliate’ folder from Themes folder to the ‘/wp-content/themes/’ directory using your favorite FTP client software
Make sure you have setup Transfer Mode – Binary, because files can be broken upon transfer with ASCII mode
Login to your WordPress admin dashboard, go to Themes
Click ‘Activate’
Congratulations, you are set to go! So let’s move to the next step and configure the theme.