This website uses cookies so that we can provide you with the best user experience possible. Cookie information is stored in your browser and performs functions such as recognising you when you return to our website and helping our team to understand which sections of the website you find most interesting and useful.
First theme and plugin install (and dummy data import)
Go to Themes
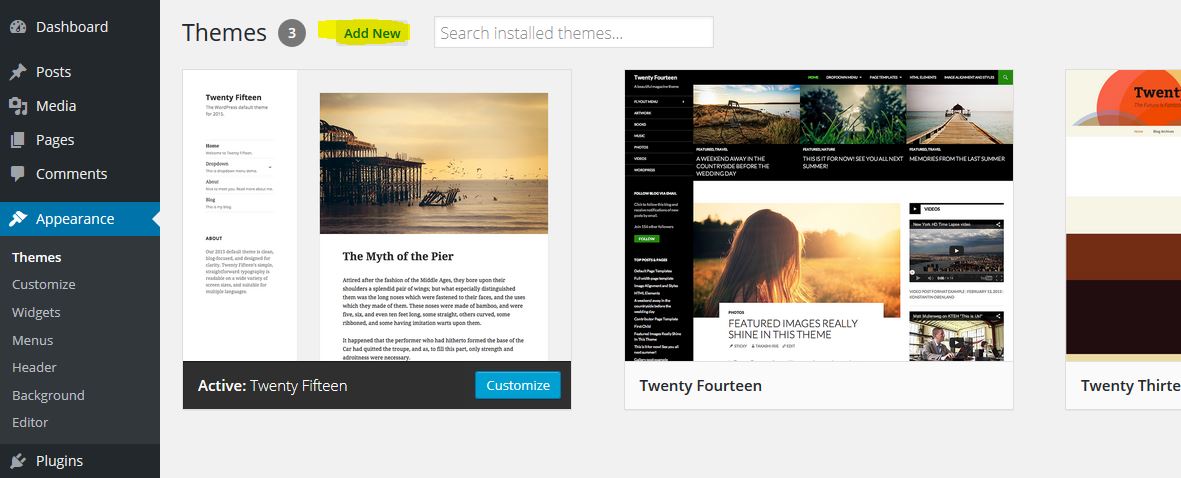 Click on “Add New” and then on “Upload theme“.
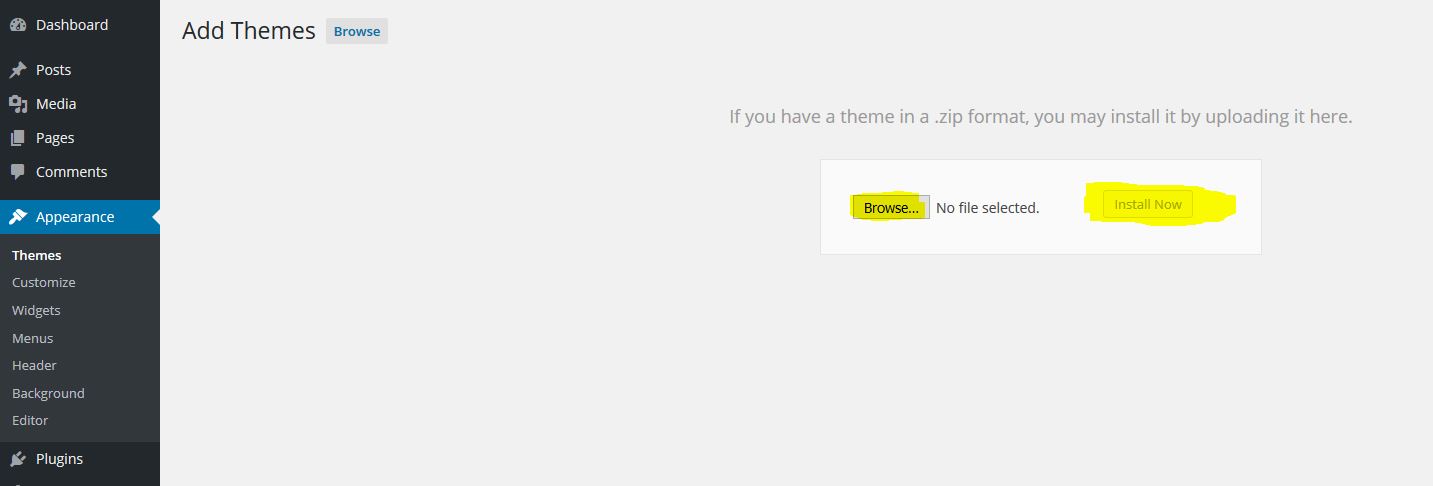 Click on “Browse” to select the theme ZIP and then “Install Now“.
Attention: The installable ZIP may be included into the main archive downloaded from Envato, if you have selected to download the complete package.
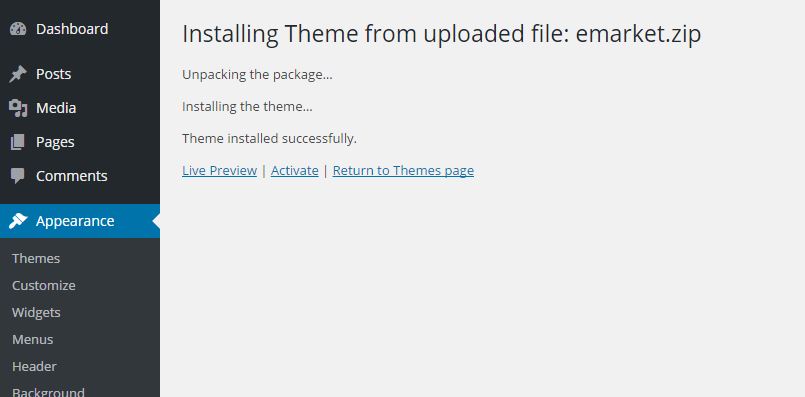
Click on “Activate“.
You should then see this screen, where you will have to click on “Begin installing plugins“.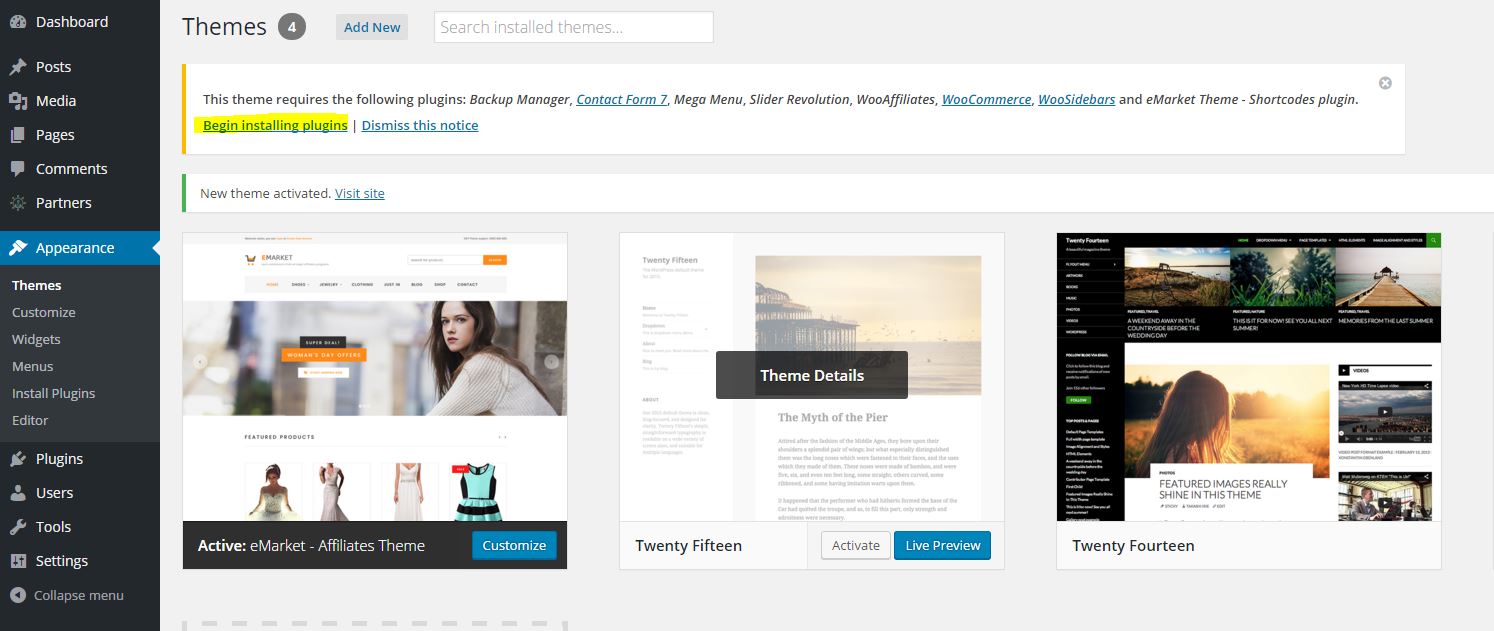
Click on the dropdown menu and select “Install“, then select all of the plugins and click on “Apply“.
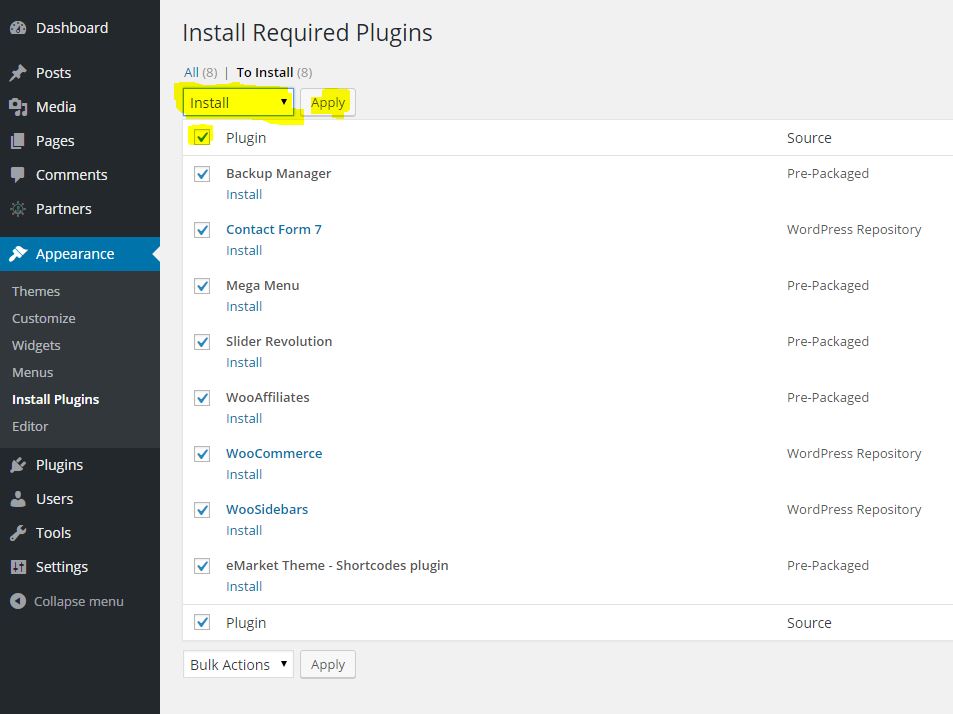
The following screen will appear:
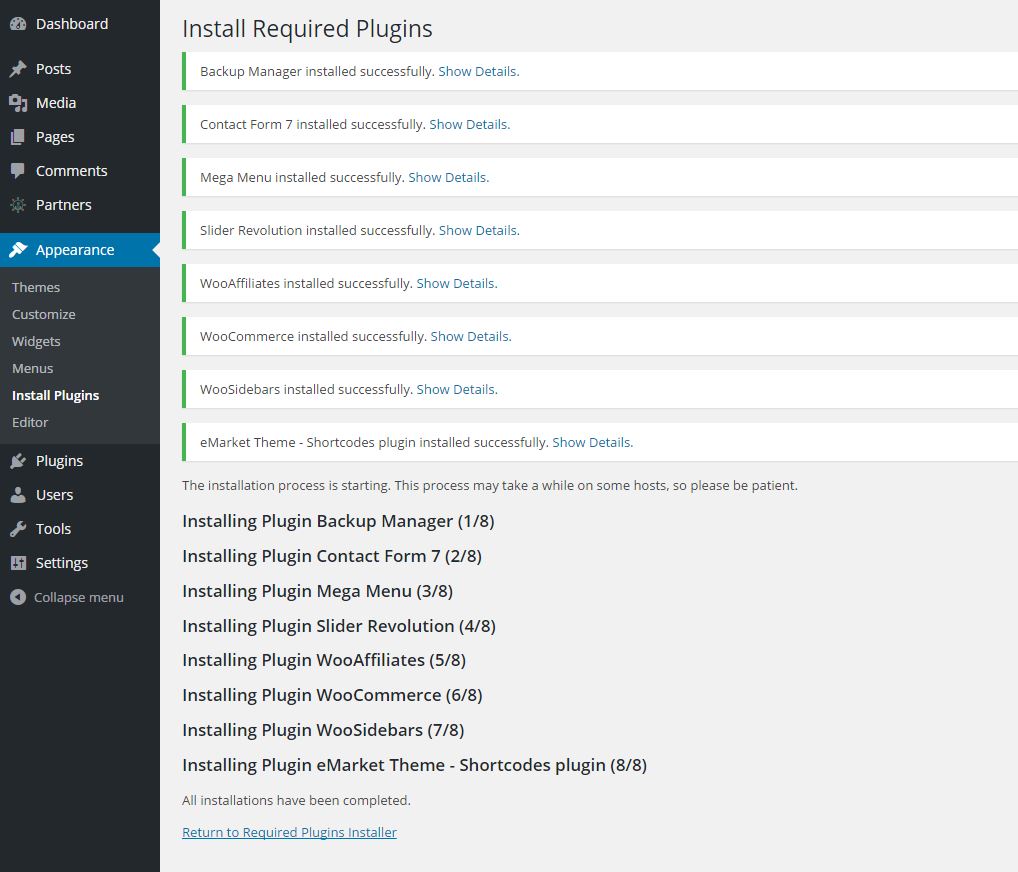
Click on “Return to Required Plugins Installer“. Here you will have to select all of the plugins (like before) but this time, Activate them.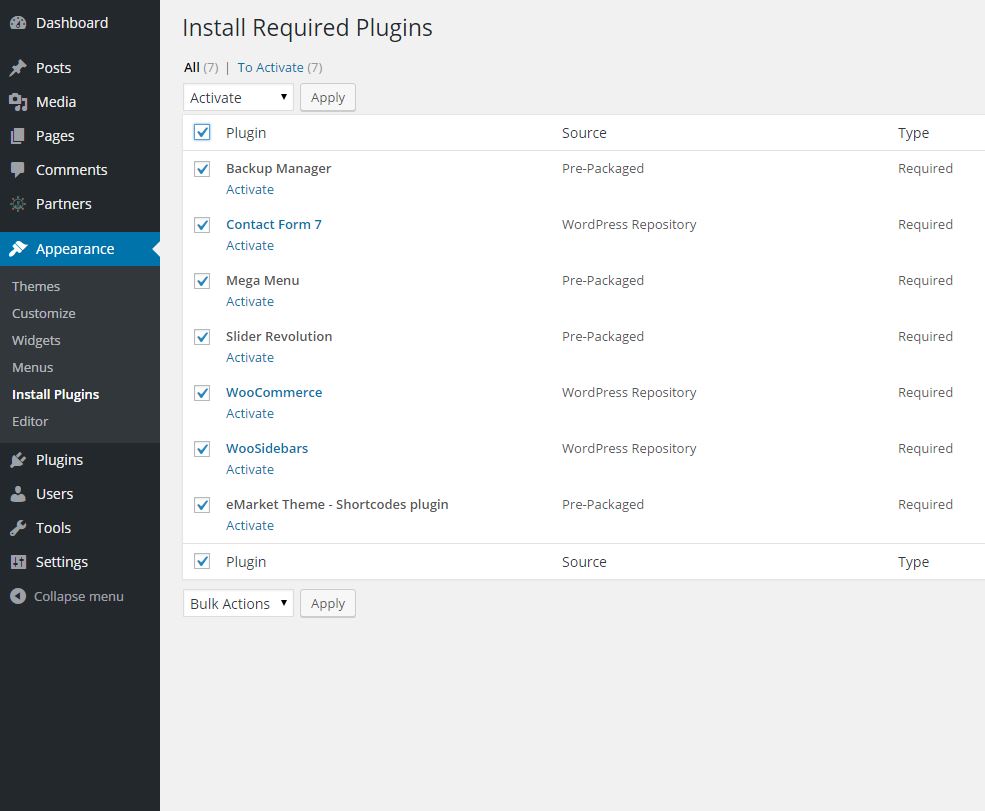
You will then be prompted to the WooCommerce Setup Wizard. Complete it.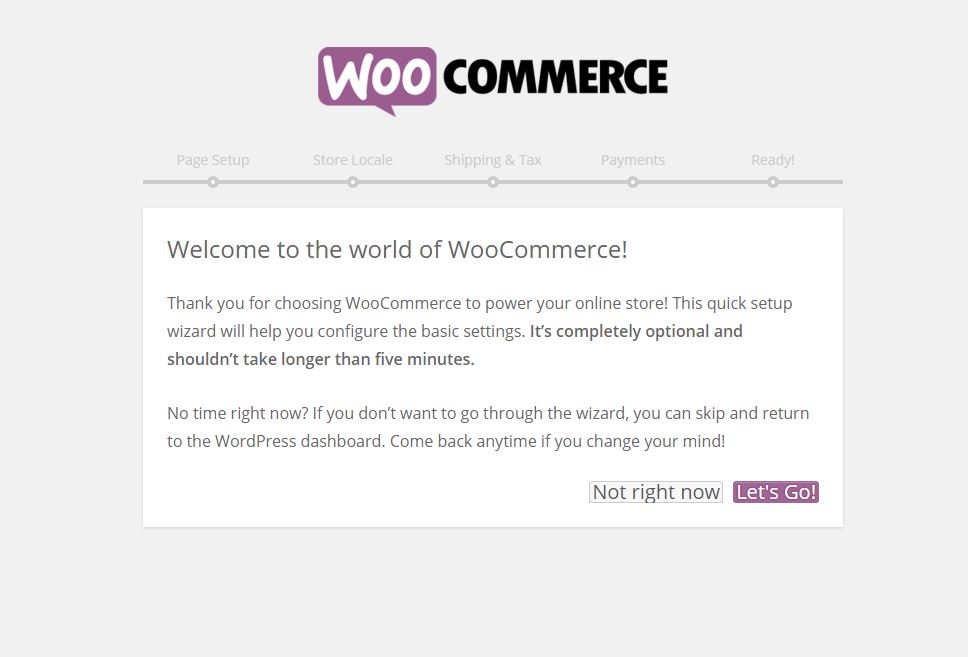
Now you are ready to import the dummy data. Go to the Backup Manager plugin.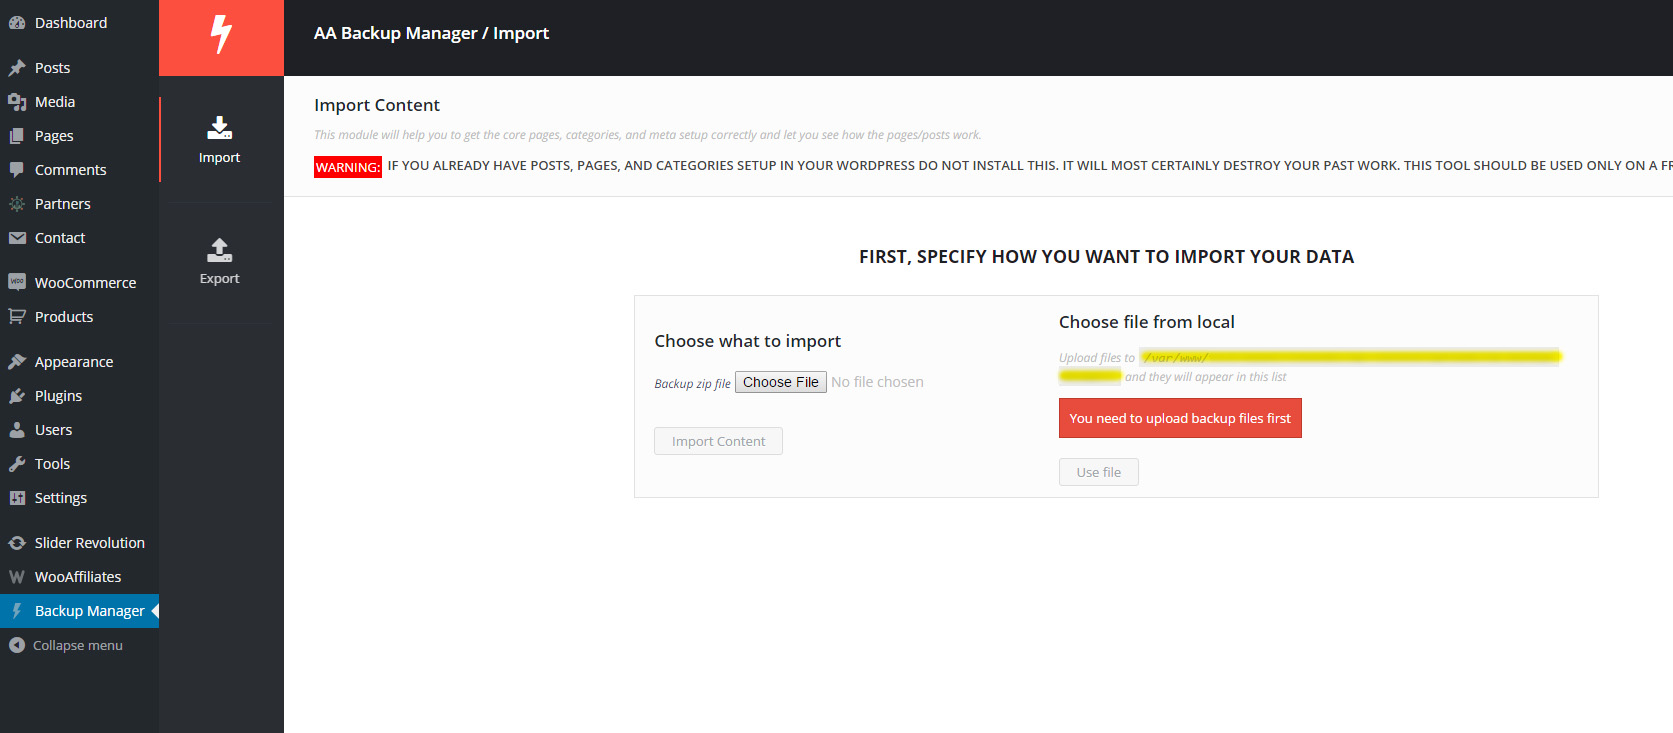
Go to the indicated path from the right side of the screen (you may copy and paste it into a ftp client, for a quicker navigation) and copy the dummy data file in there. Then, refresh the page, select the dummy file and click on “Import“.
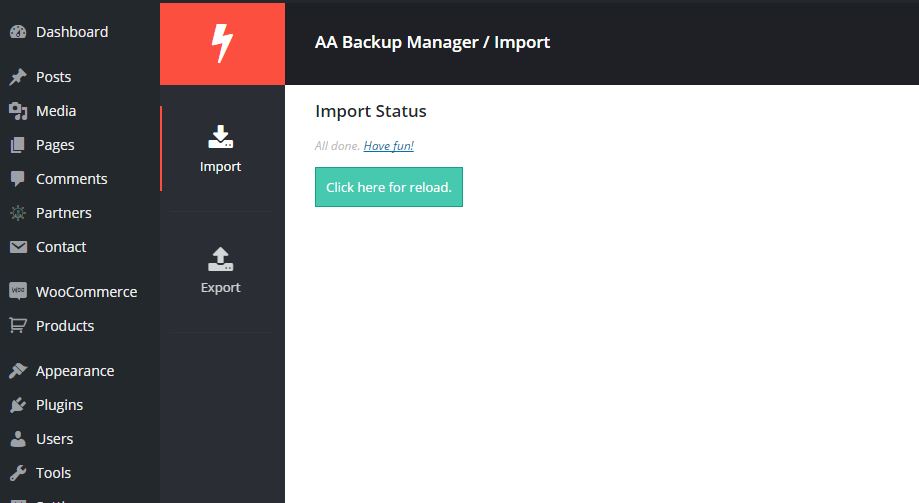
Theme dummy data should be done now and you will now have to import the Revolution Slider Dummy data. Go to the Slider Revolution tab and click on “Import Slider”.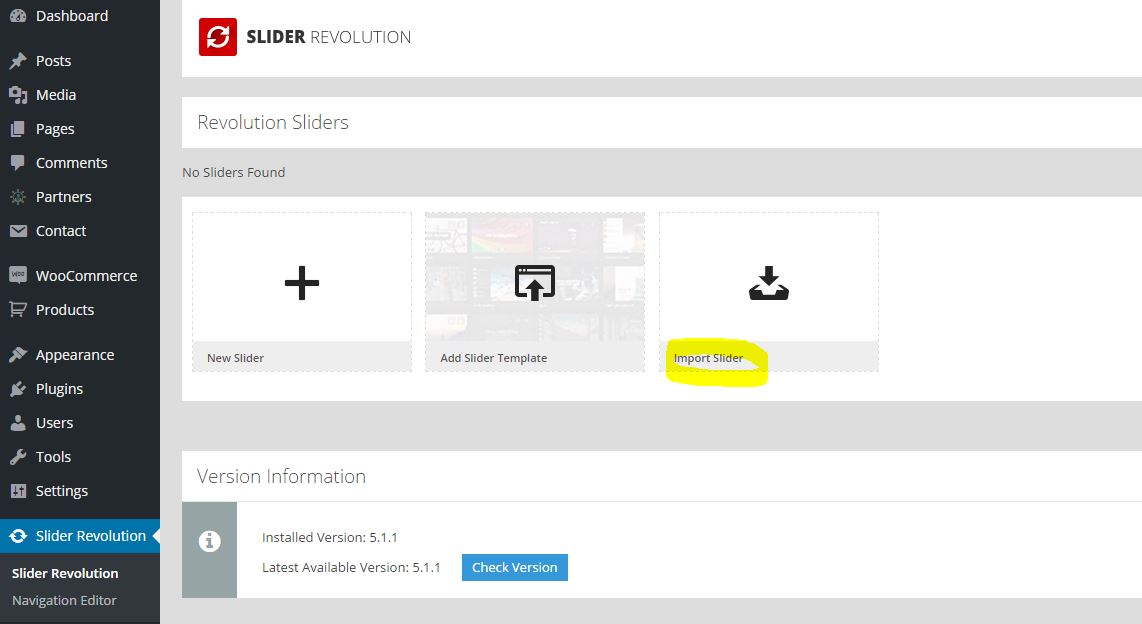
Select the slider dummy file and click on “Import Slider”.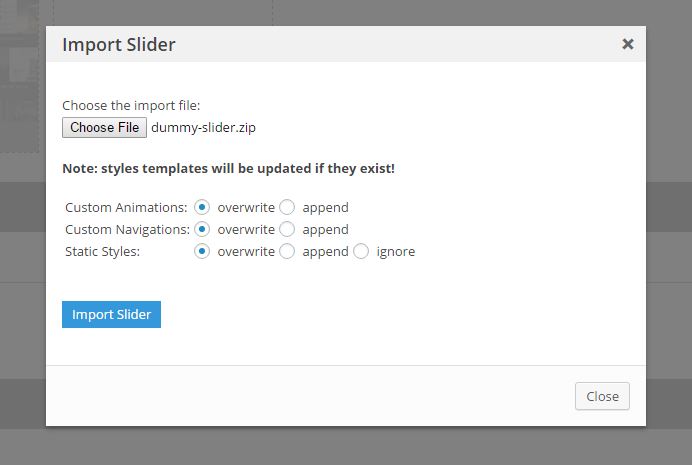
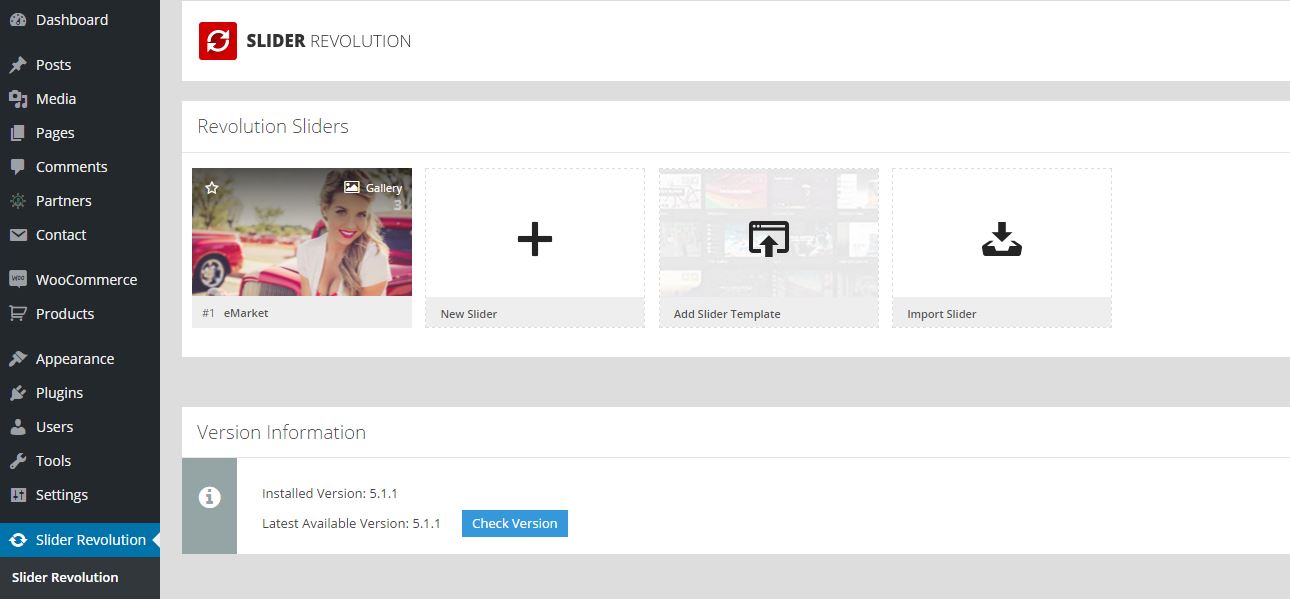
The slider data should be all imported now and you should see this:
That’s all for importing dummy data!
