This website uses cookies so that we can provide you with the best user experience possible. Cookie information is stored in your browser and performs functions such as recognising you when you return to our website and helping our team to understand which sections of the website you find most interesting and useful.
Configuring the theme’s menu
Here is how to set up the menu for the theme:
First, you will have to get to the Screen Options menu in Appearance -> Menus.
The, you will have to enable the Mega Menu.
After doing this, in the left part of the screen the Mega Menu header should show up on red.
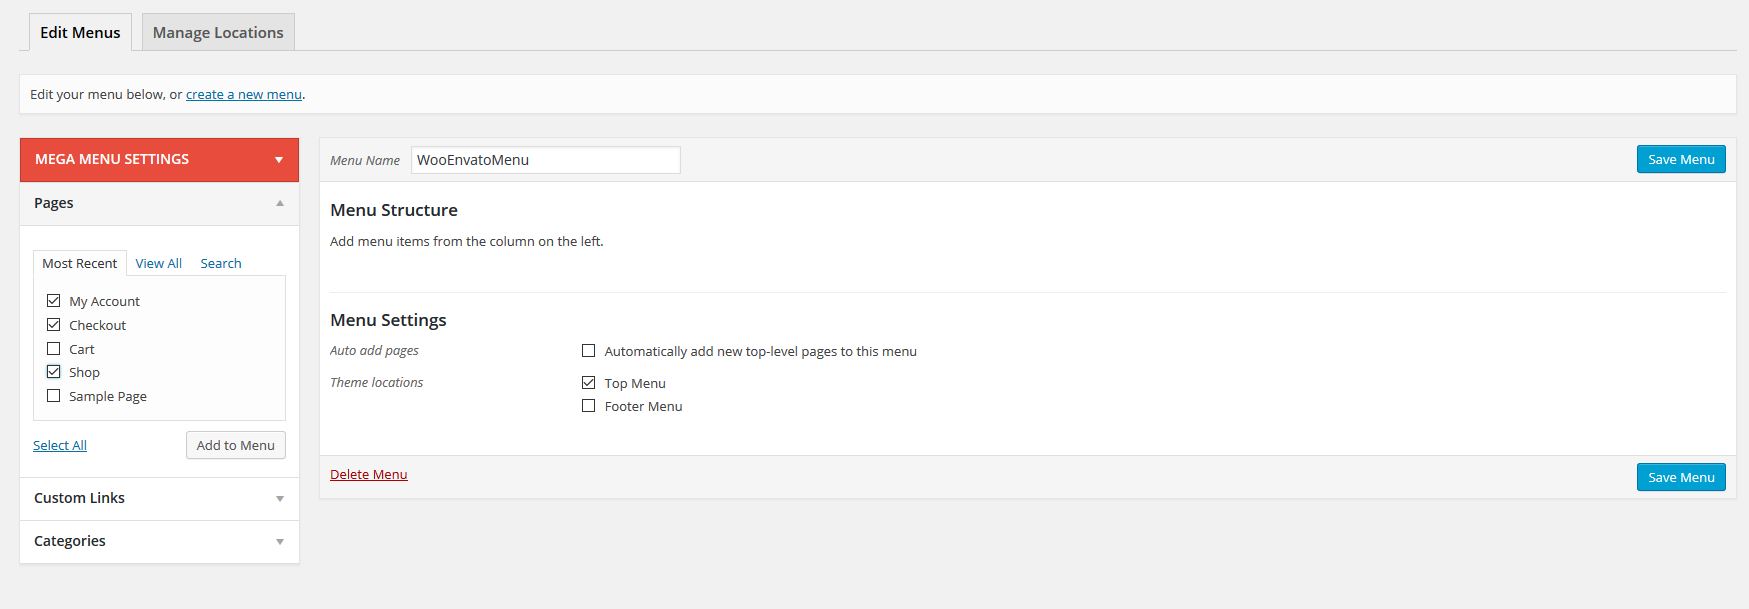
Then, you will have to set up a name for the menu and create it.
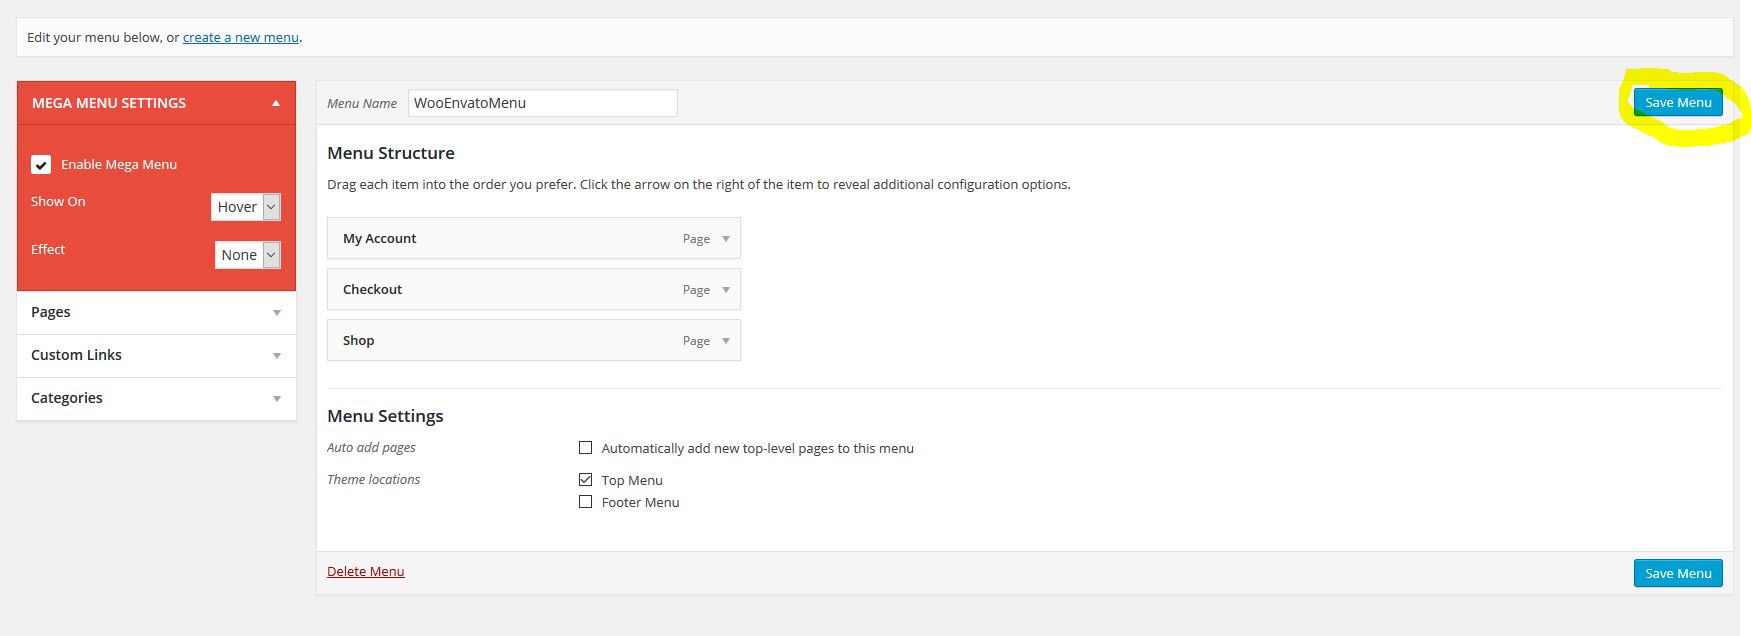
Then, you will have to check the “Enable Mega Menu” field and assign the menu to a location (top or footer).
After this, you will have to add items into the menu:
That’s all! You now have a basic menu!
Now, let’s get a little advanced. The Mega Menu plugin, which is included with WooEnvato also has a grid system for widgets.
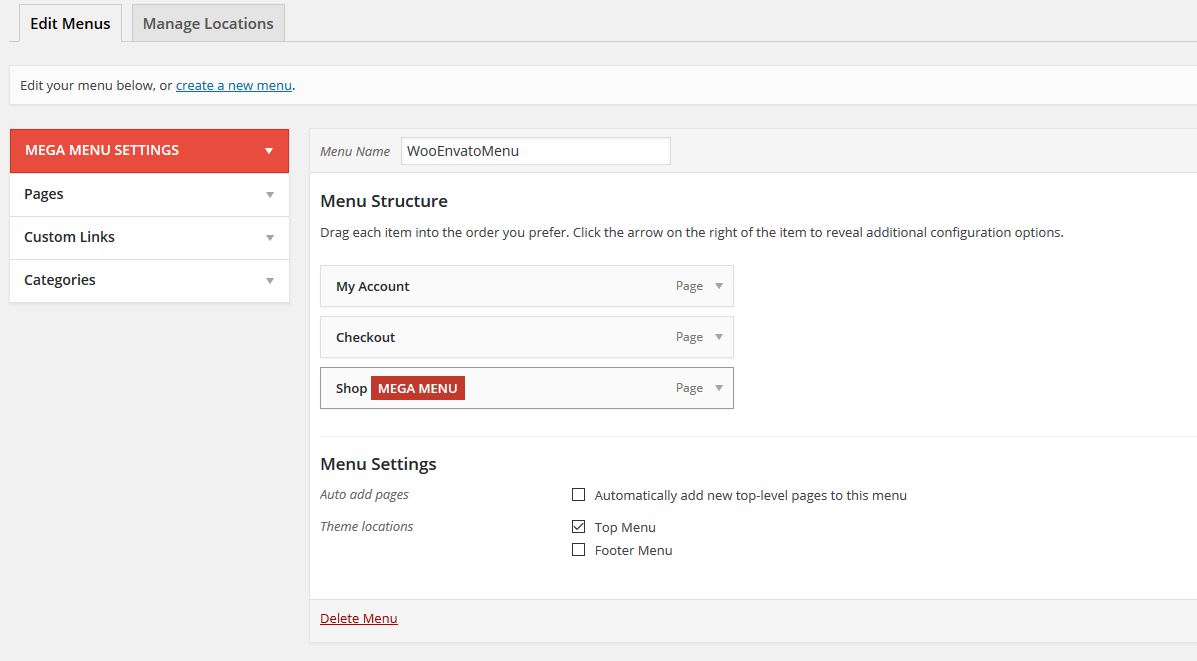
When hovering on the menu items, the “Mega Menu” box will show up. Click on it.
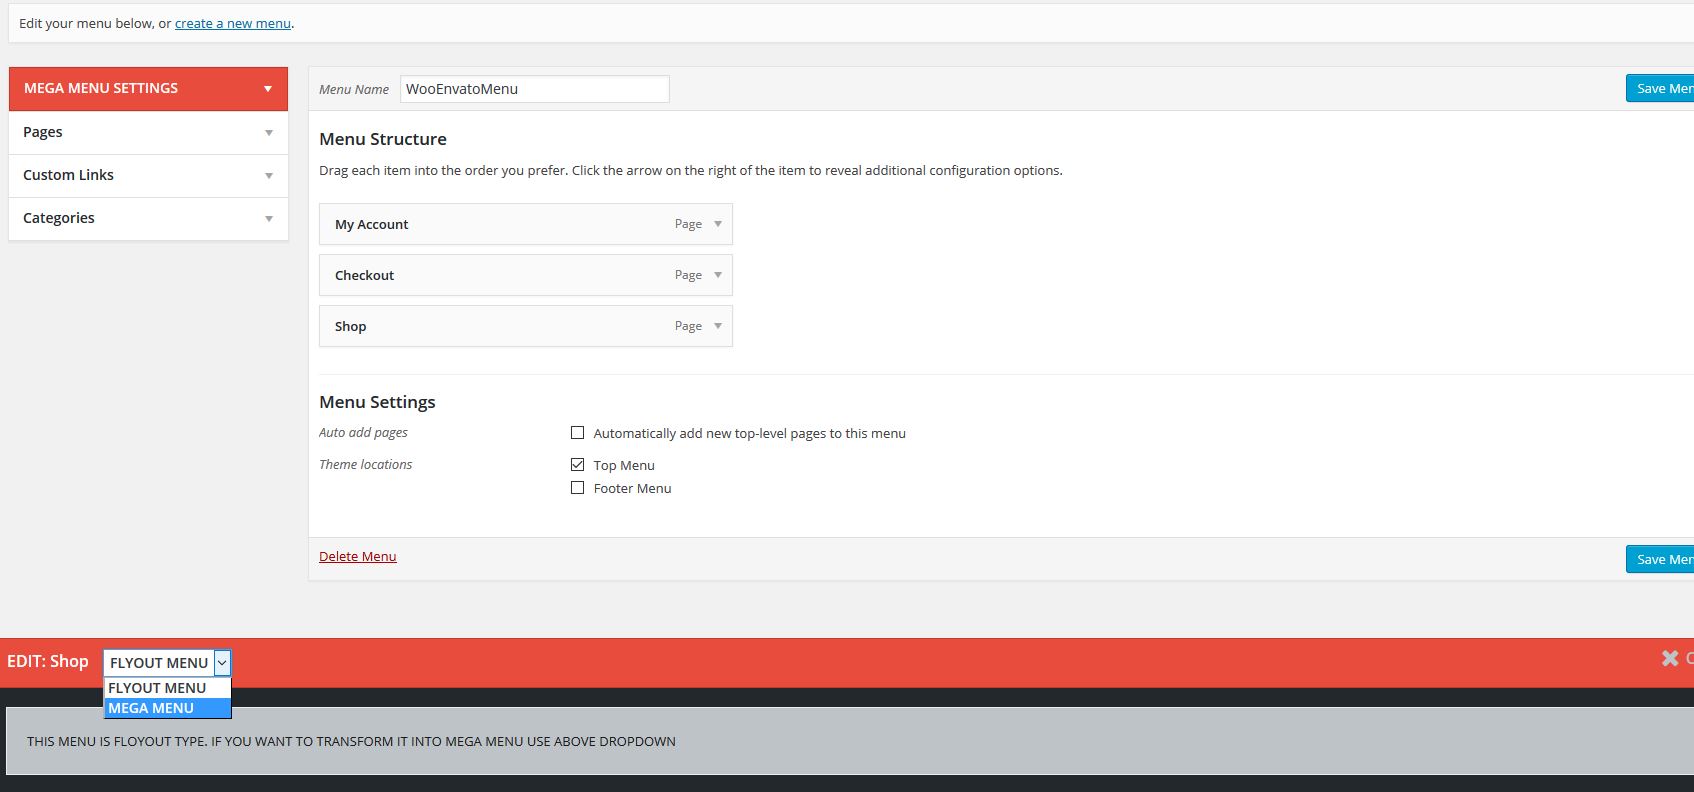
This will show up the selection menu, where you can choose to use the Mega Menu.
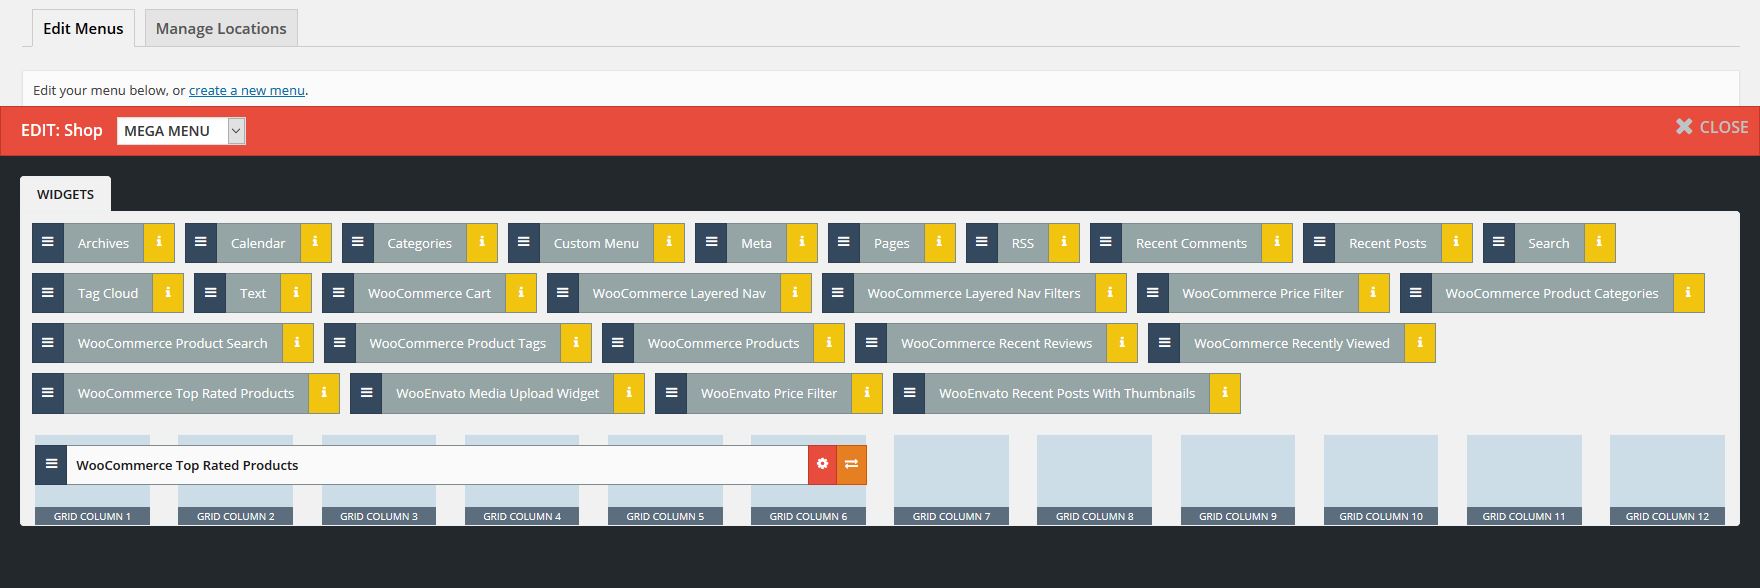
Here you can see a grid system, where you can add WordPress widgets.
Just drag the Widgets by their left part (blue one) and drop them over the grid columns.
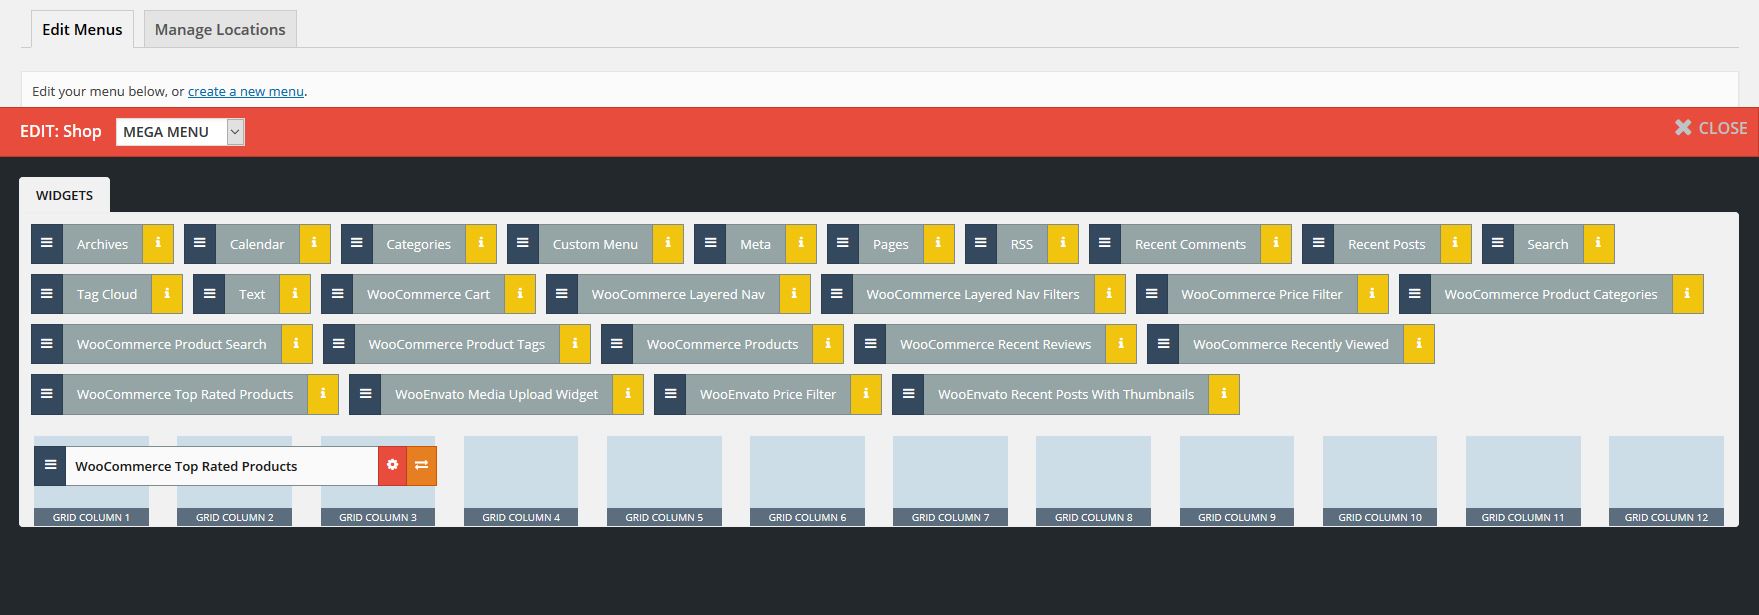
Here I’ve added the WooCommerce Top Rated Products widget.
You can also resize the widgets width.
After this, click on “Save Menu” again.
You now have a Mega Menu!
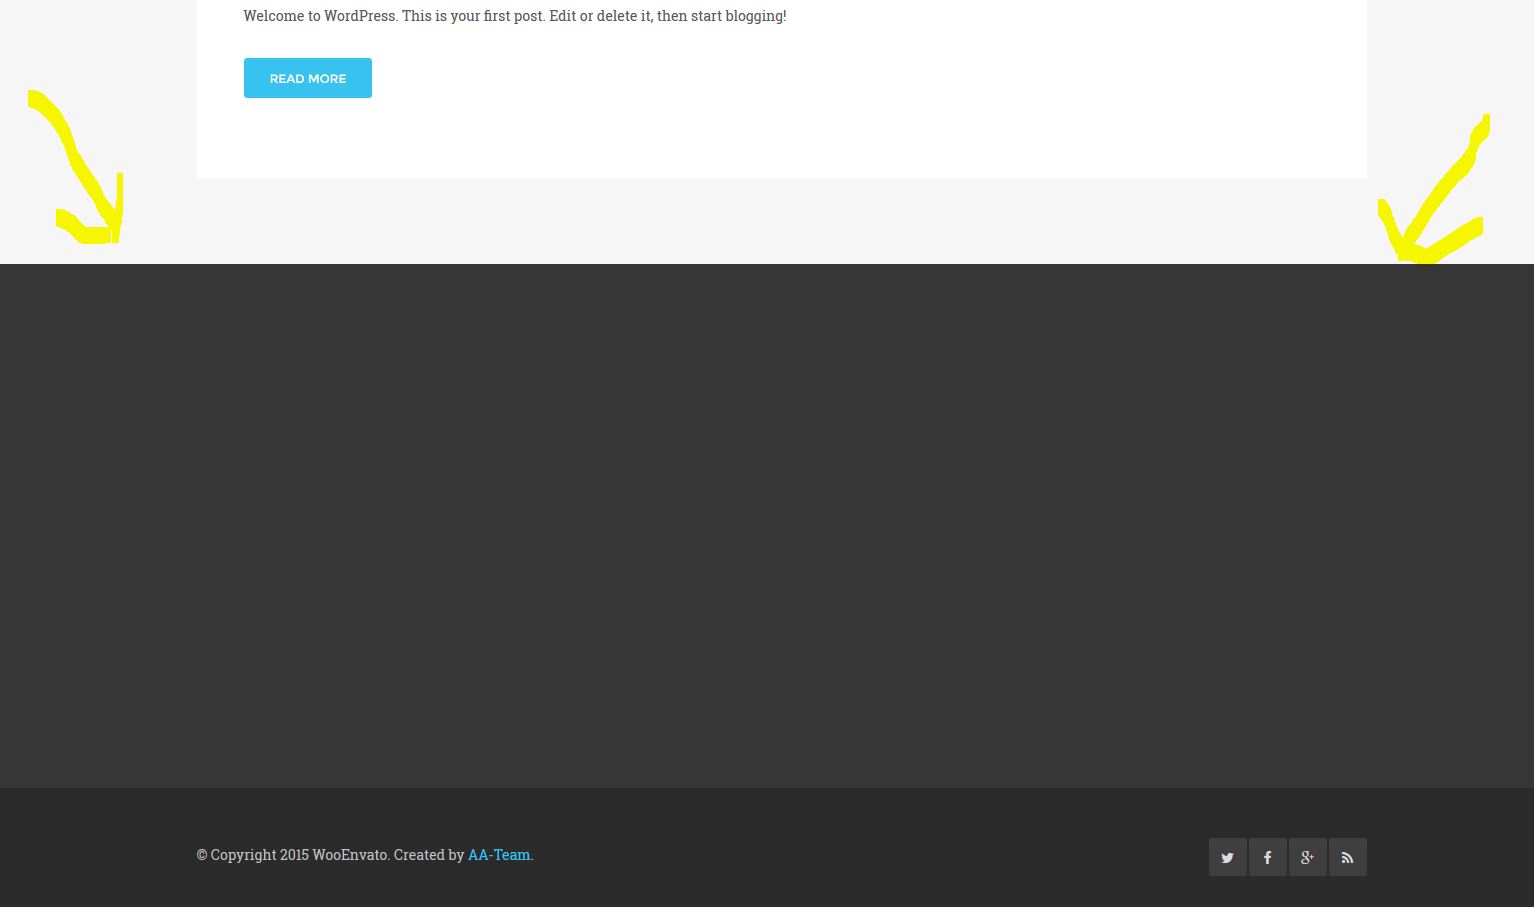
In order to fill the bottom part of the website, you will have to add some widgets into the footer sidebar!
Here’s how: http://docs.aa-team.com/wooenvato/documentation/footer-sidebar/


