This website uses cookies so that we can provide you with the best user experience possible. Cookie information is stored in your browser and performs functions such as recognising you when you return to our website and helping our team to understand which sections of the website you find most interesting and useful.
Dummy Data Install
If you don’t want to install the theme from scratch, then you can import some dummy content to make it easier.
After you activate the theme, you will see a list of required plugins. Please install it.

Import WordPress Content (Pages / Posts / Custom Pages)
There’s a folder called “Dummy Sample Data” in the package you downloaded.
Using the Importer plugin you can import this type of content.
Log in to your WordPress Admin Panel -> Go to” Tools -> Import” and click on ‘WordPress’
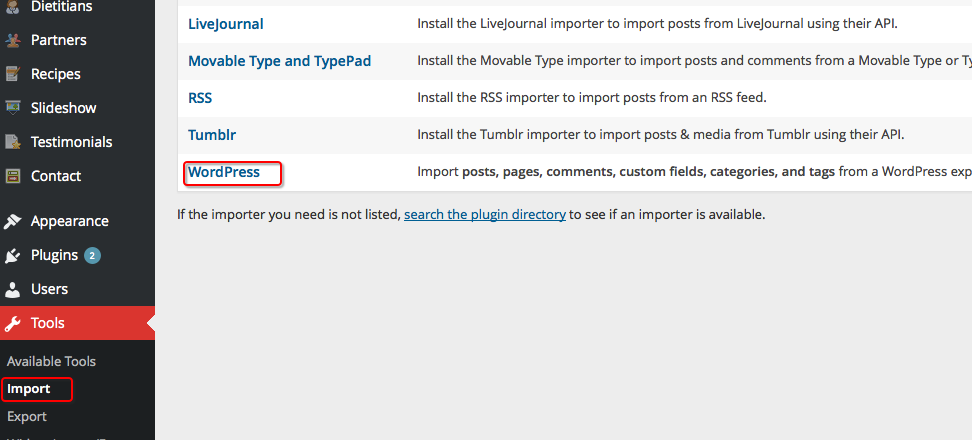
Click to select your file, open your local folder with unzipped theme file and choose the desired xml file in “Dummy Sample Data” folder.
In order to work, you might need to add this line into your wp-config.php file : define(‘WP_MEMORY_LIMIT’, ‘1064M’);
Click ‘Upload file and import’
After the file is uploaded, you’ll get another options page. Check the ‘ Download and import file attachments ‘ checkbox and click ‘Submit’. The import can take a few minutes. (If it gives an error, please retry to import it, the file is quite large and the server might break.)
The dummy_data.xml file imports some menus, pages, blog posts, recipes, dietitians, slideshow, partners, testimonials and contact forms items. These items are extracted from the Diet & Nutrition Health Center demo site.
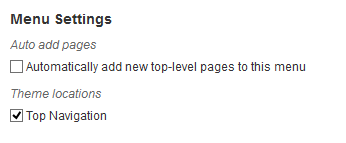
For the Main Menu, go to Appearance -> Menus and on the bottom of the page you have Menu Settings. Make sure to check “Top Navigation” in order to show up as top menu.
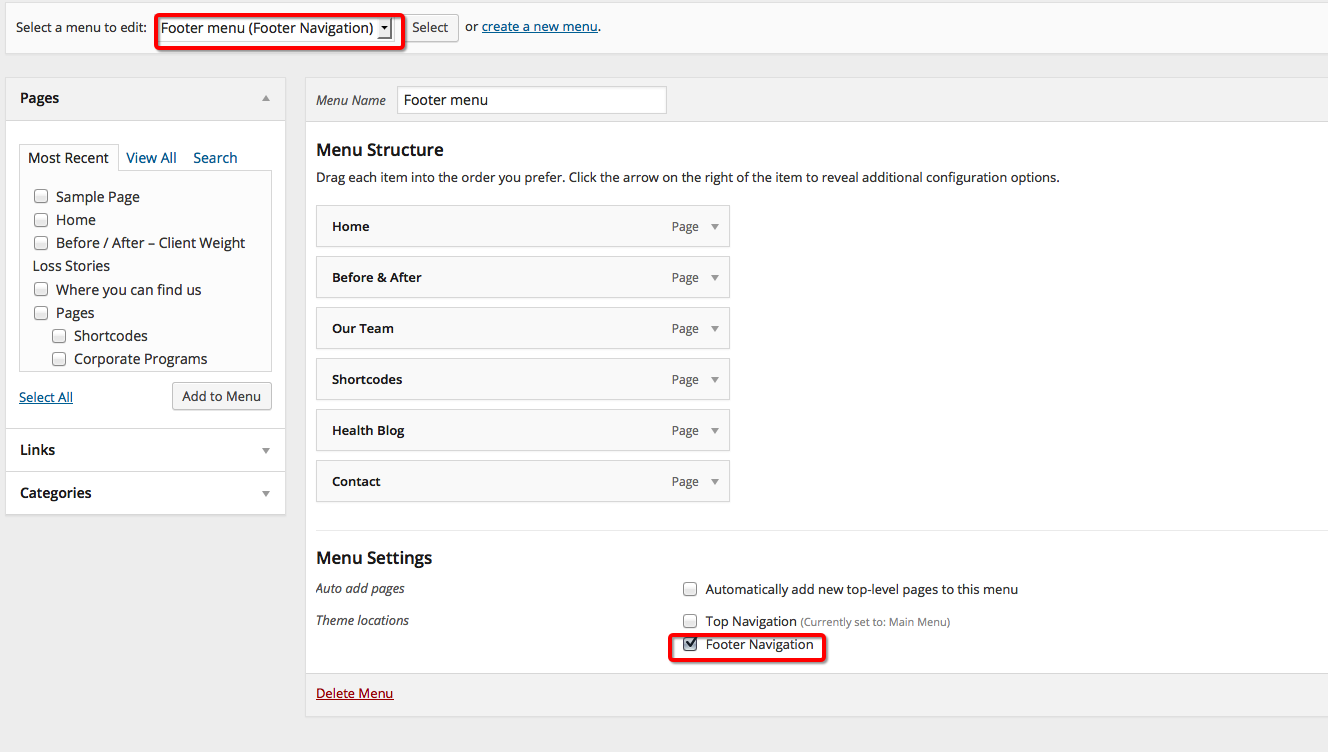
Same goes for the Footer menu, go to Appearance -> Menus and on the bottom of the page you have Menu Settings. Make sure to check “Footer Navigation” in order to show up as footer menu.
The Main Menu contains custom Icons that are assigned to the menu by using custom css classes.
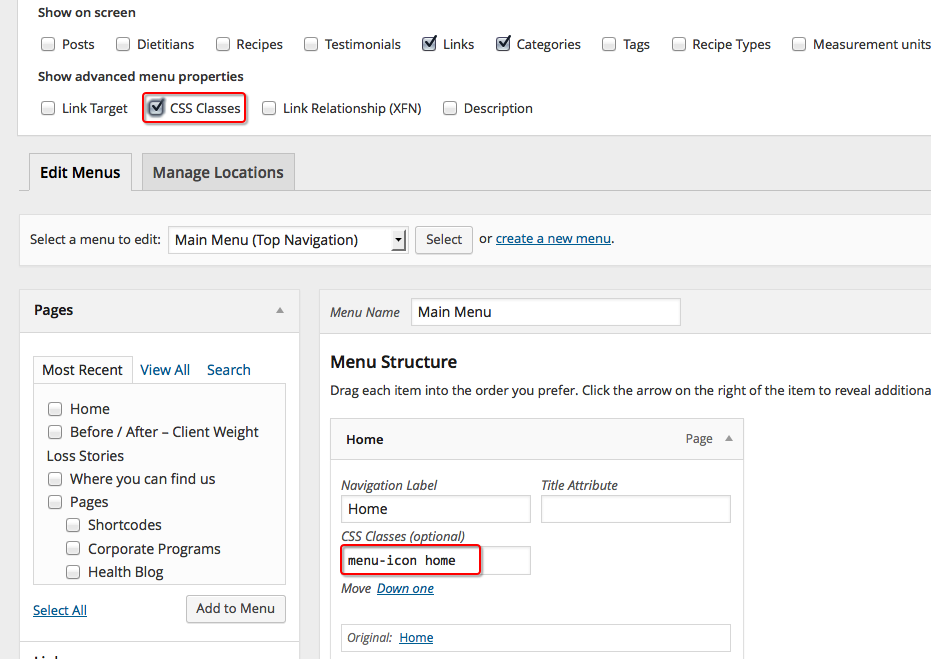
If you wish to change the icons, we provide the PSD file to the Menu Sprite. It can be found in the main package, PSD folder.
![]()